

Decoding
Go to the Start menu and open
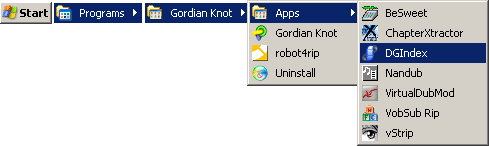 DGIndex.
From the
 menu, select
!["Open [F2]"](menu_file_open.png) .
.
Navigate to the ripping folder and select all
of the .VOB files at once.
Click 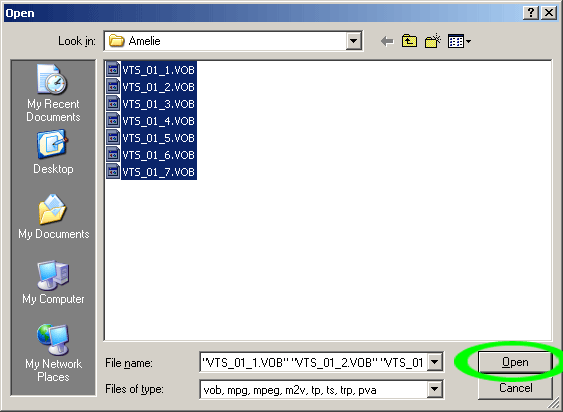 , and the .VOBs
will appear in the
file list.
, and the .VOBs
will appear in the
file list.
Click  .
.
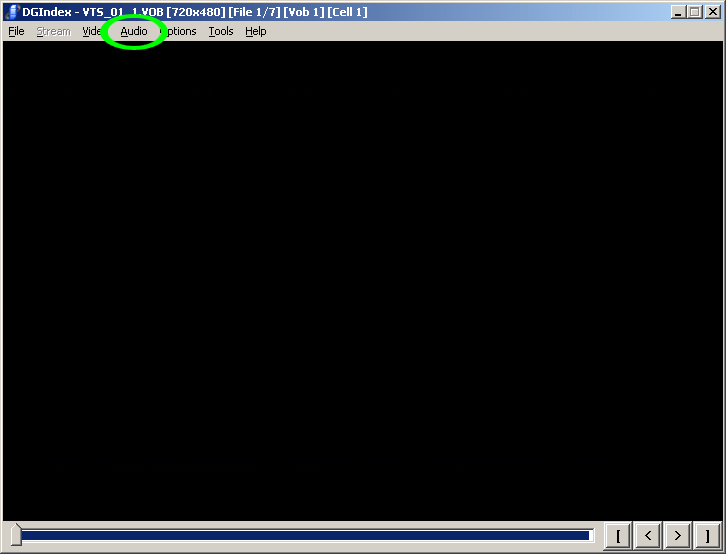
Go to the
 menu and select
 .
.
If you are ripping a
PAL
DVD, skip past the yellow
sections.
If you are ripping an
NTSC
DVD, drag the
 to the middle of the movie and
click
to the middle of the movie and
click
 .
.

Press F5 and watch the video for at least 30
seconds, then press Esc to stop. Were there any
interlacing artifacts? They appear when there is a lot of
motion on the screen:

If there were no artifacts, go to the
 menu and select
 .
.
If there were artifacts, make no changes.
Continue below.
Drag the
 back to the very beginning, and
click
back to the very beginning, and
click
 .
.
From the
menu, select


From the
 menu, select

When you are ready to decode, go to the
 menu and select
!["Save Project [F4]"](menu_file_save.png) .
.
Name the file decoded.d2v, and save it in the
ripping folder. Be sure to save to the particular episode's
folder if ripping a DVD with a series of episodes.
The decoding/demuxing process will take anywhere from 5 to
60 minutes. Repeat for each episode, if applicable.

Go to the Start menu and open ![]() VLC Media
Player. Preview the audio files and delete any that
you don't wish to include in the final product.
VLC Media
Player. Preview the audio files and delete any that
you don't wish to include in the final product.
Close DGIndex and proceed to the next stage.
.

